Welcome to my classroom for the 2018-2019 school year! I didn’t take quite as many photos this year as I have in the past, as my room setup this year is pretty similar to last year’s.

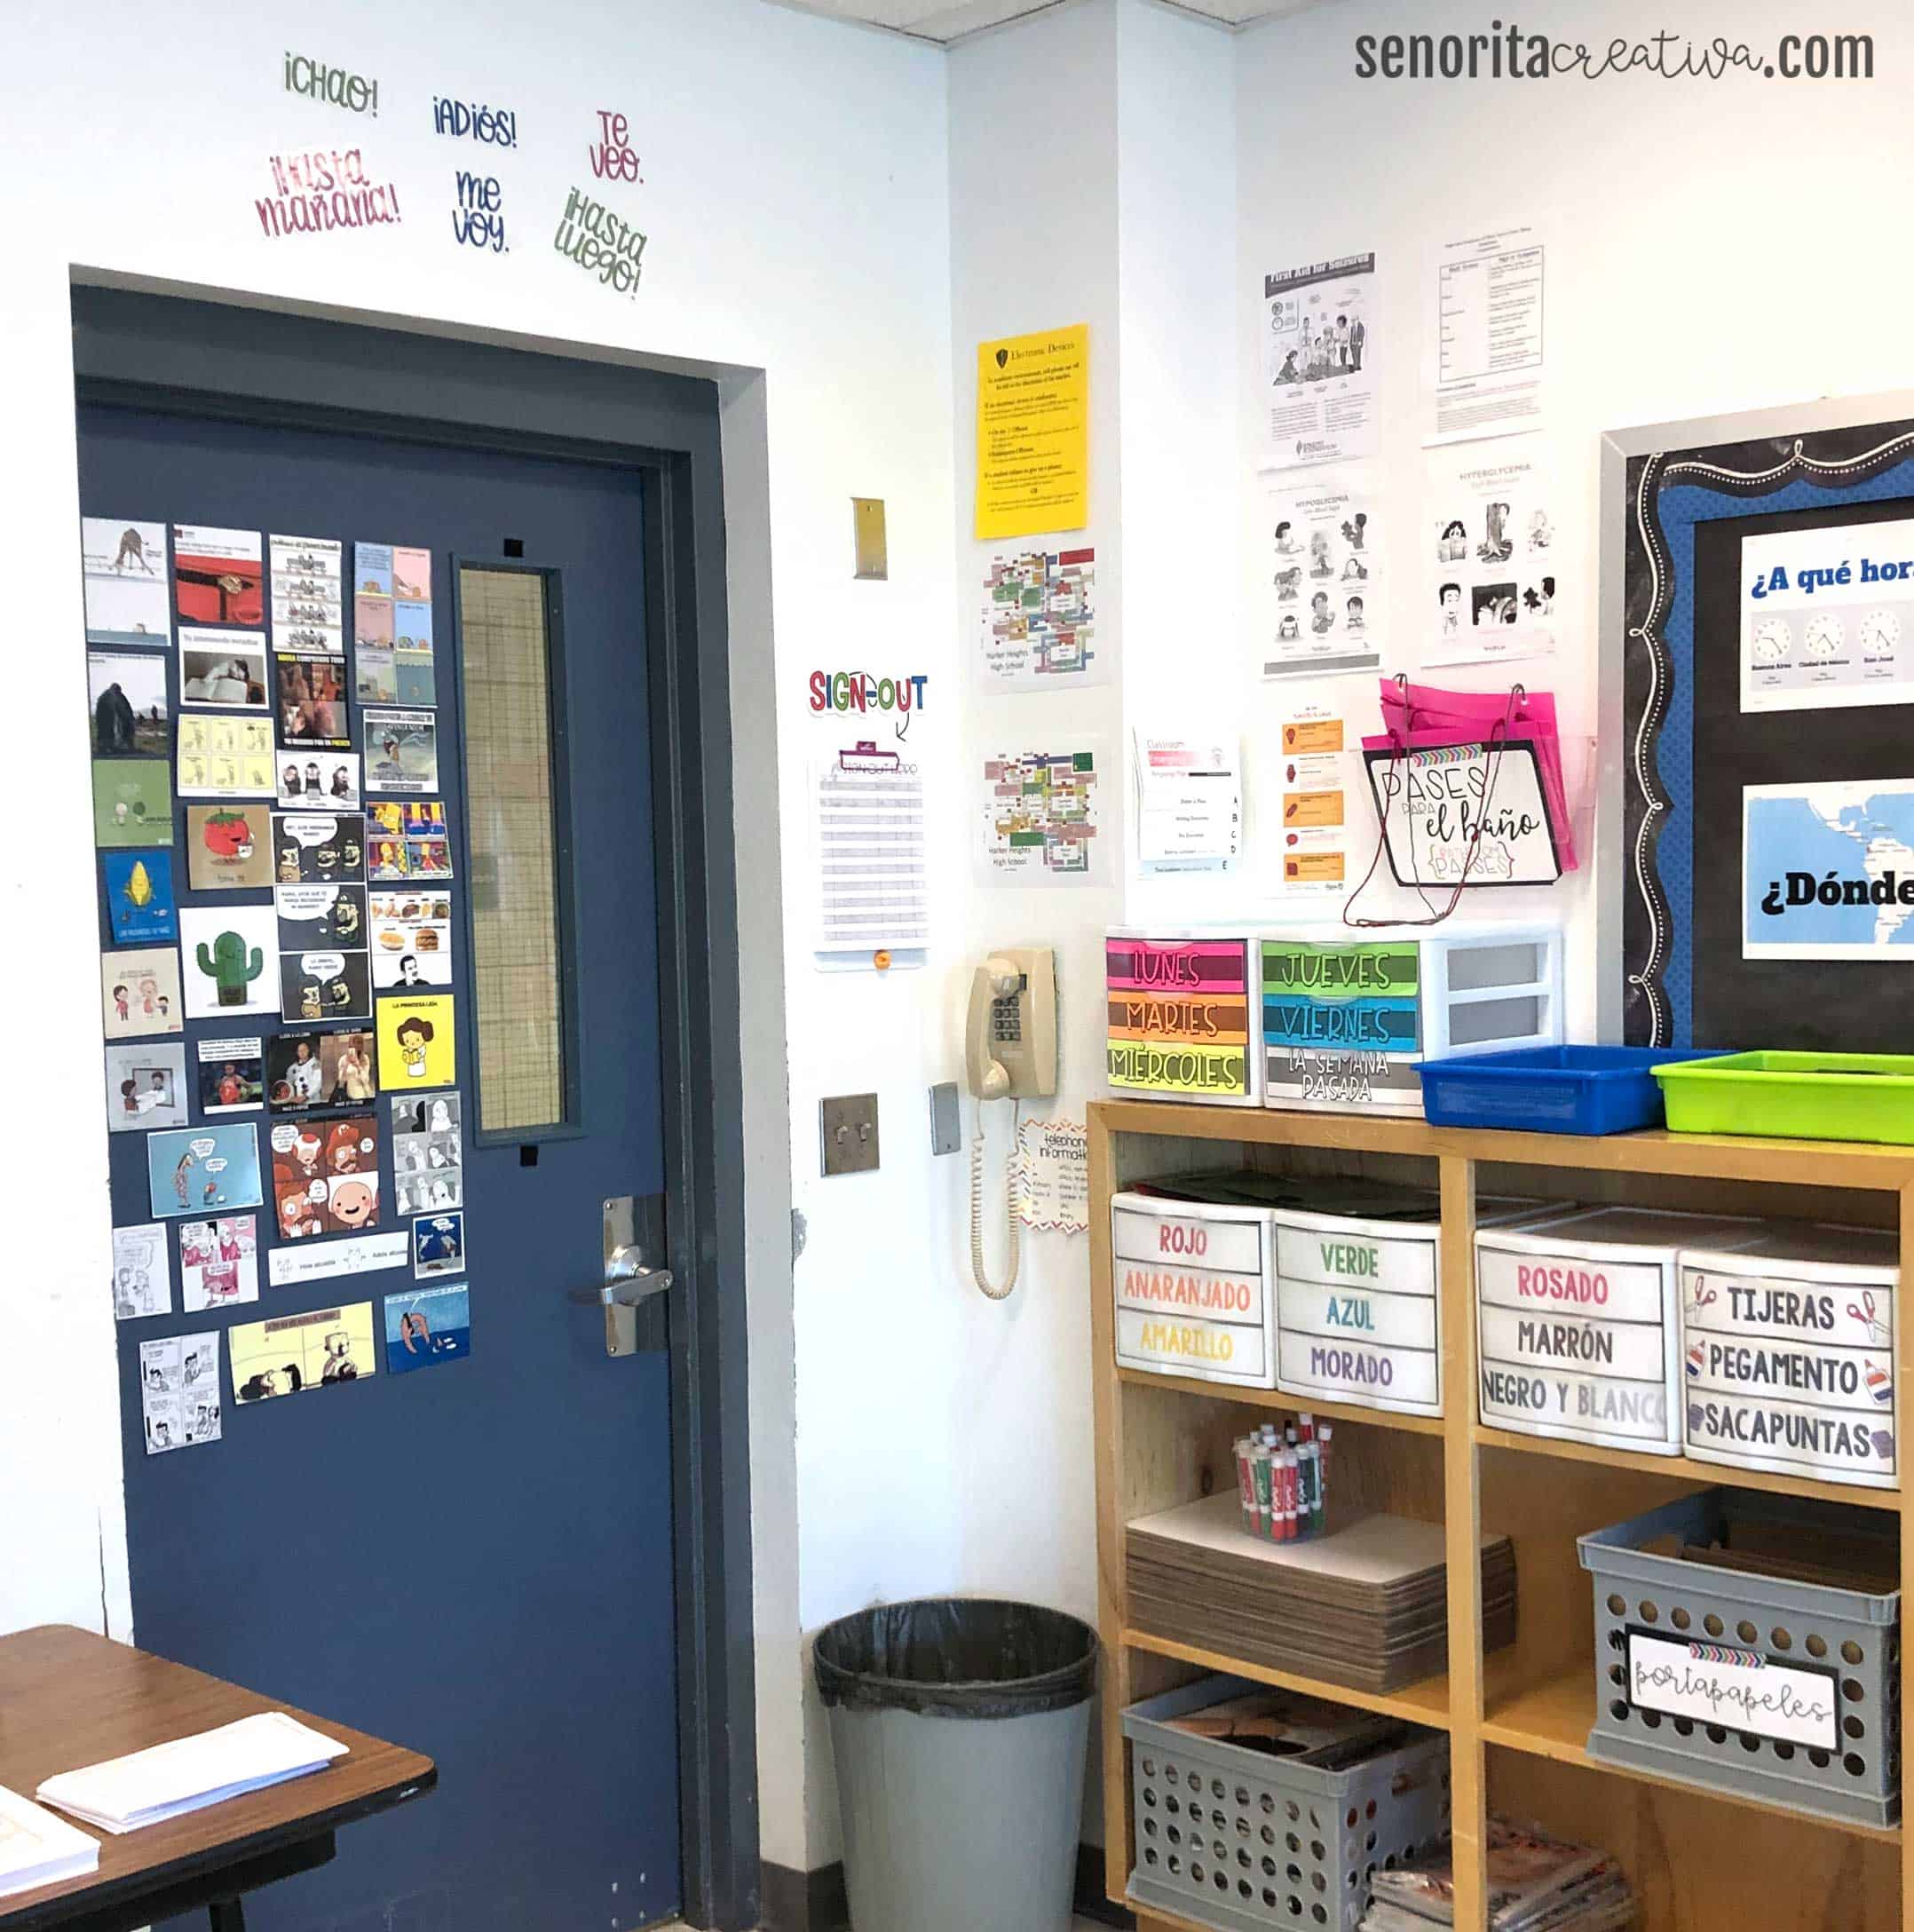
This is the door to my room. Some of my favorite parts of this area in the room are the fun memes and cartoons I have on the door (which are such a sneaky way to give my students just a little bit more input before they leave my room) and the rainbow drawers on top of the bookshelf. Those drawers hold any papers that were handed out over the last week. When a student is absent, they just have to check the corresponding drawer to get any handouts and then Schoology to view the day’s lesson.

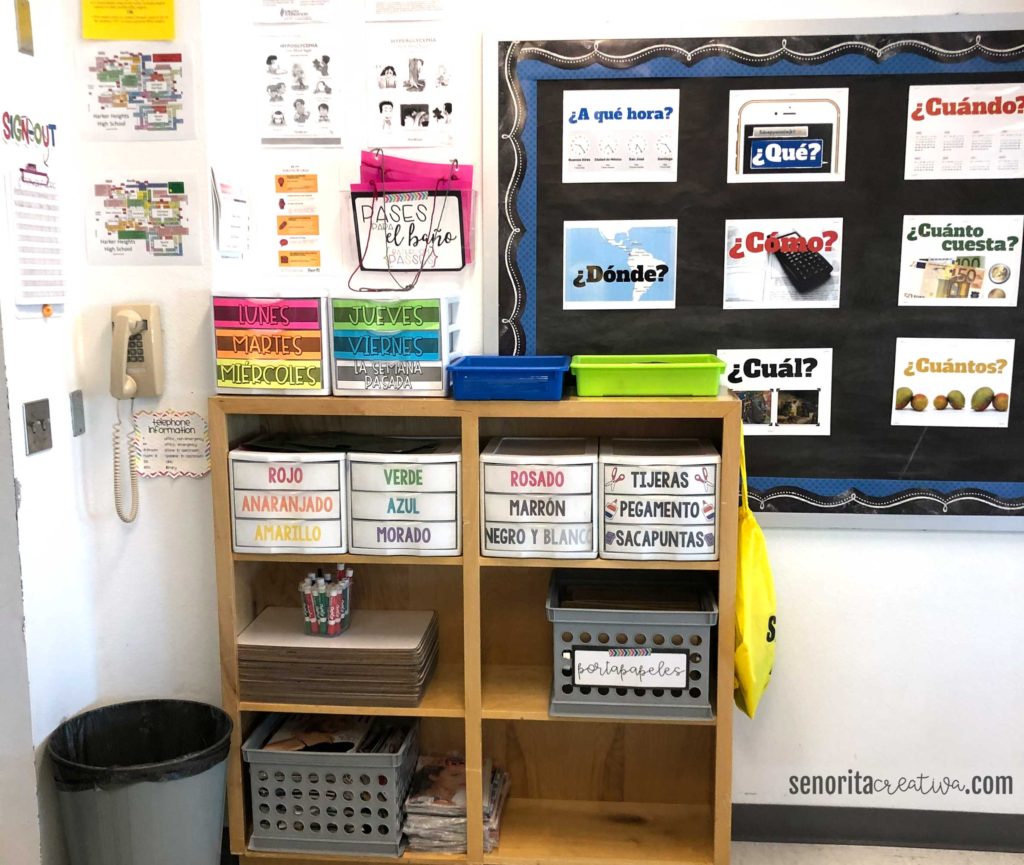
Here’s another view of the bookshelf, and you can also see my question words bulletin board, which is from creativelanguageclass.com. In addition to holding papers for absent students, there is also scratch paper, student supplies (like staplers and staples, tape, markers, colored pencils, crayons, rulers, scissors, etc) on this shelf. I also have a bin of clipboards that I got a good deal on (I think I paid $30 for 35 clipboards a few years back). These are great for any time I have my students out of their seats, like when we do gallery walks, speaking activities and mixers, and for my students who want to sit on the floor or a yoga ball.

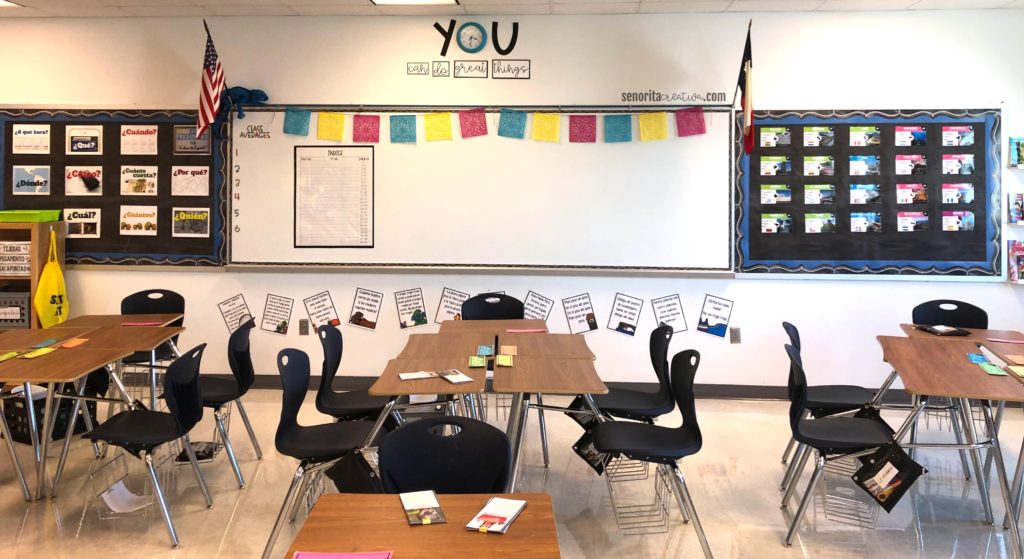
Here you can see the back of the room. On the whiteboard I have a spot for me to write class averages on the left, along with a poster-sized copy of the table of contents for their interactive notebooks. I do my best to keep this updated. On the right bulletin board, I have mini posters for countries around the Spanish-Speaking world (join my newsletter and get access to my free teacher resource library, where these will be added soon!). Below the board are my fun tongue-twister posters, which one of my favorite resources in my Teachers Pay Teachers store.
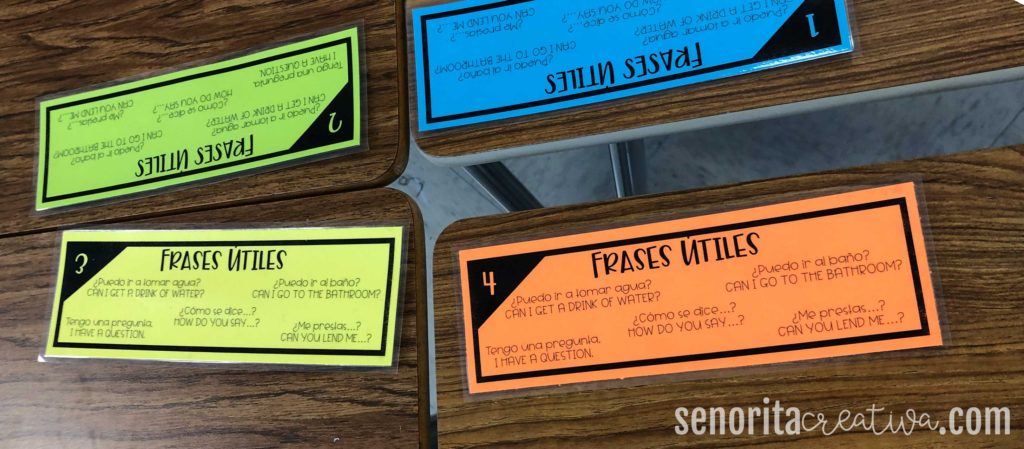
As you can see in this photo, my classroom is set up in six groups of five. Each desk has a colored tag (coming soon to my teacher resource library!) with the desk number and some helpful phrases, which you can see in the photo below.


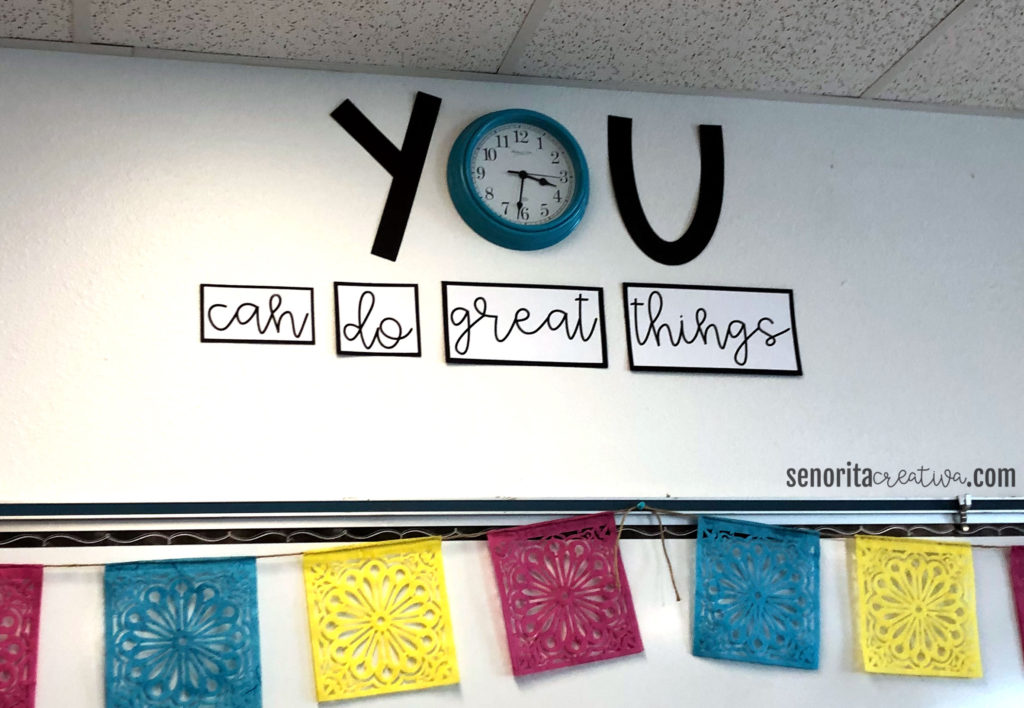
I love this little area of my room! I got this idea from instagram, but I don’t have the original source (if this is your idea, please let me know so that I can properly credit you!). It’s such a simple idea, but it makes me happy when I look at it, and my students have mentioned it as well.

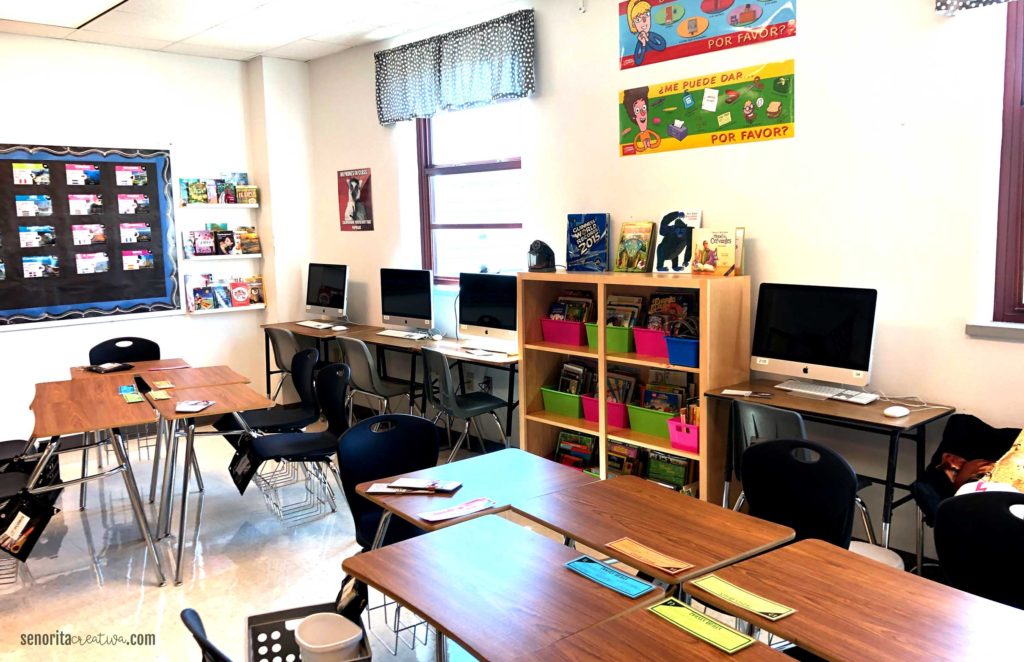
In this photo, you can see my classroom library, which is split between the white Ikea photo ledges at the left side of the photo and the wooden bookshelf towards the middle of the photo. In the bookshelf, my books are held by some cheap locker-style plastic bins that I purchased from dollar tree a few years back. They have held up really well!

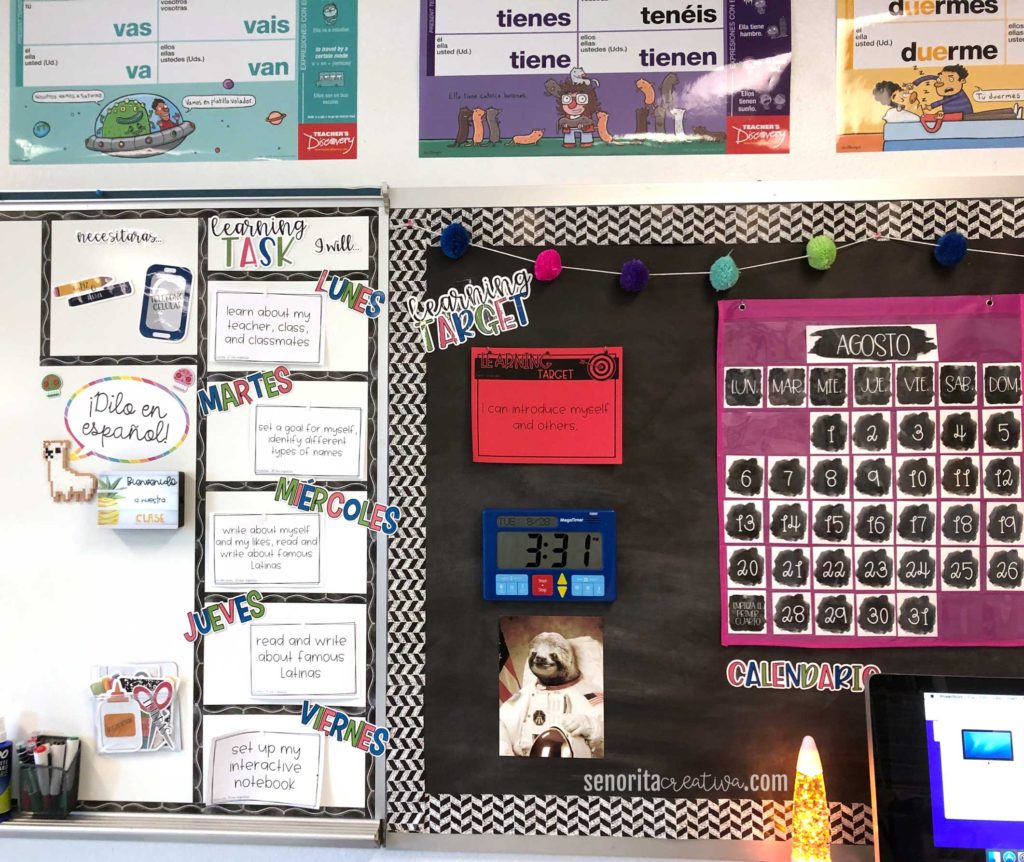
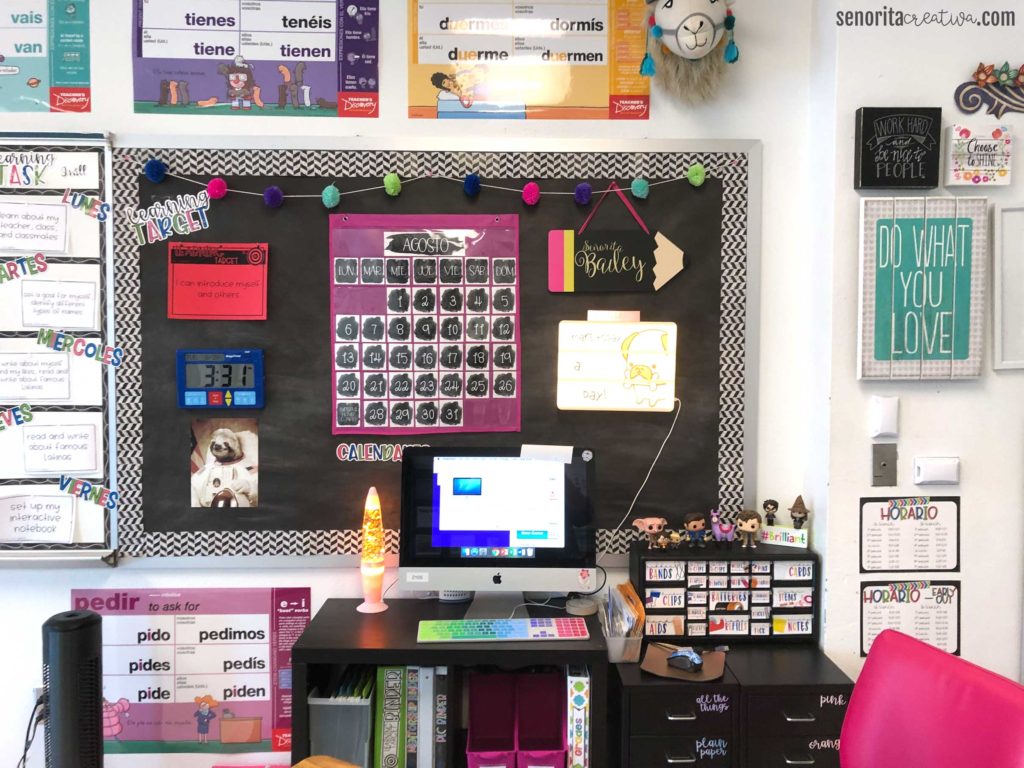
Here’s the front corner of my room behind my desk. You can see my learning task section on my board, along with my daily supplies section (from the Texas Teacher on TpT). On my bulletin board, I have a spot for my learning target, a Kagan MegaTimer, and my calendar which was a steal at the Target Dollar Spot two years ago.
You can also see my glitter lava lamp, which is really popular with my students, and it gives some of my more anxious students something calming to focus on (here’s an Amazon Affiliate link to a similar lamp as this one is no longer available).


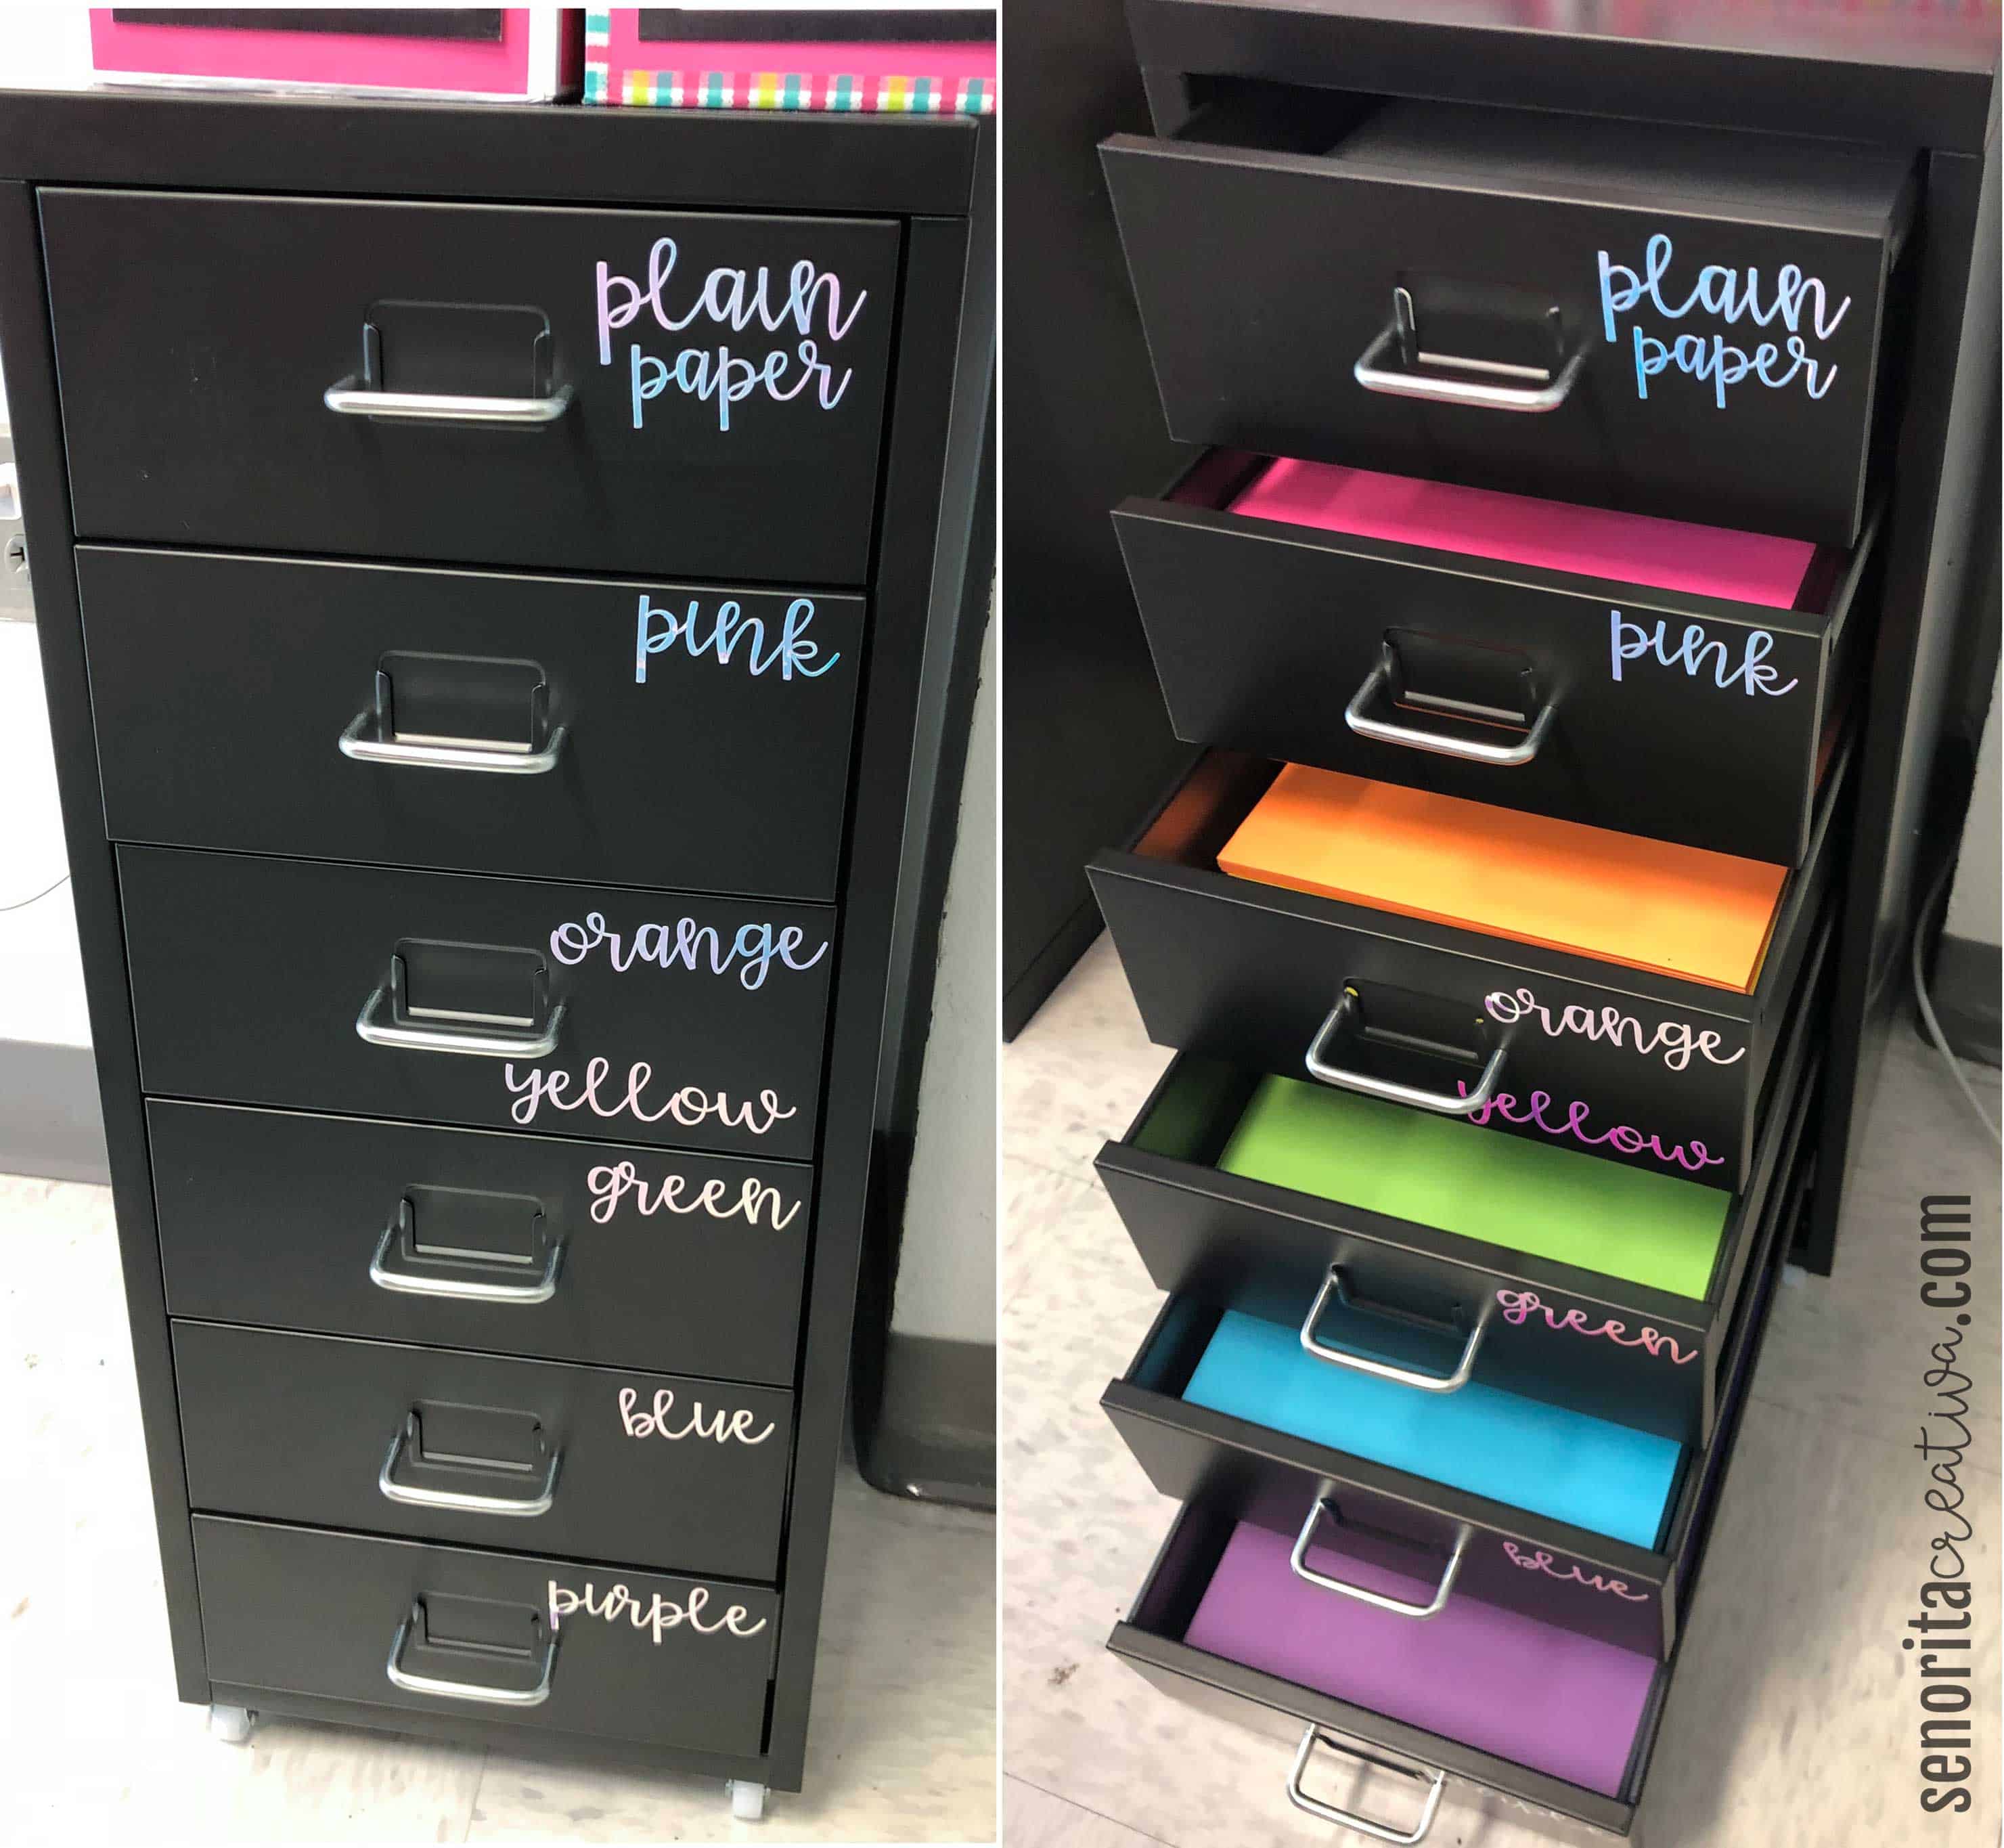
Here’s another look at this little area in my room. The black shelf on the left is a 2×2 Kallax from Ikea (both Target and Walmart have similar shelves if you don’t have access to an Ikea) that houses my binders and papers on the top shelf and my printer (affiliate link) on the bottom. To the right of that bookshelf are two helmer drawer units from Ikea (can you tell I love Ikea??). These hold various supplies such as printer paper, cardstock, toner, stickers and other prizes for my students, and my colored paper, which you can see in the image below. I made labels using my silhouette machine (affiliate link) and iridescent vinyl. Even though it’s just a little thing, these drawers make me happy to look at.

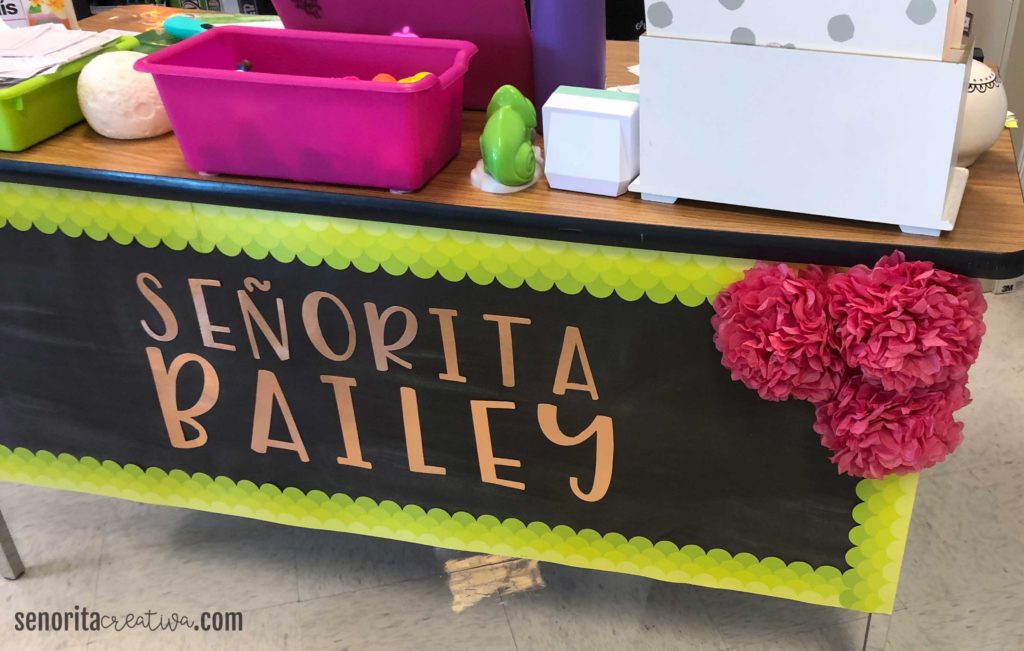
Here you can see how I’ve decorated the front of my desk using Pacon’s Fadeless bulletin board paper in Chalkboard (affiliate link), which is the same paper I used on all of my bulletin boards, some bronze cardstock from Michael’s that I cut using my silhouette machine, and these bulletin board trimmers from Creative Teaching Press (affiliate link).

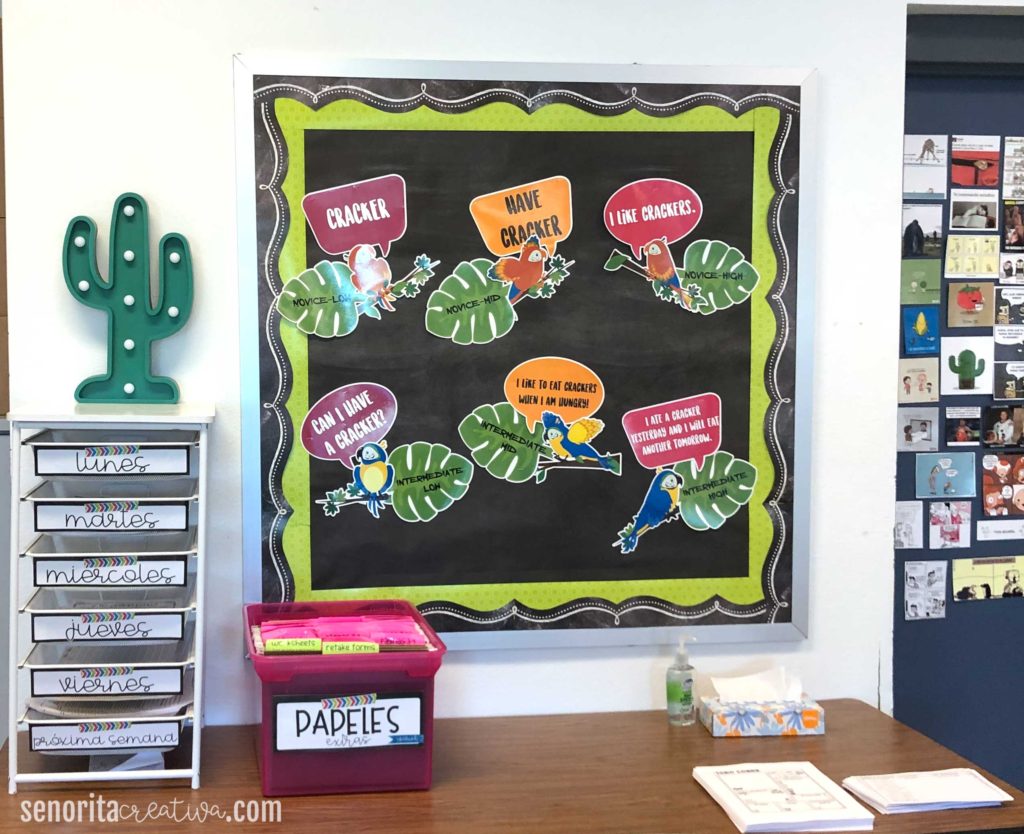
This last image takes us back to where we started at the door to my room and gives a better shot of my proficiency parrot bulletin board (from Spanish Sundries on TpT) and more paper organization. The white tower from Michael’s holds all of my copies for upcoming lessons (find these labels and more coming soon in my free teacher resource library) and the pink bin from Office Depot holds all of the handouts once they’re ready to be filed. The folders are labeled by page number for the interactive notebook. Each morning, I set out any papers or items (such as manipulatives) that students will need on the corner of the table. As they walk in, they pick up what they need, and this saves me from having to waste class time to pass out papers and materials. This is one of the most important routines I teach at the beginning of the year and it ends up saving so much time throughout the year.
Thank you for checking out my classroom. Please leave a comment below to let me know which part of the room is your favorite!