Welcome to my classroom for the 2017-2018 school year!

I am so excited to start this school year and get to know all of my students! I’ve decided to set my room up in seven groups of four this year, which will be ideal for all of the group work and conversational practice we do in class. This picture gives a good idea of what my room looks like from the perspective of my desk. I love how bright this room is, especially compared to my old room with the brown wooden paneling and nasty carpet.
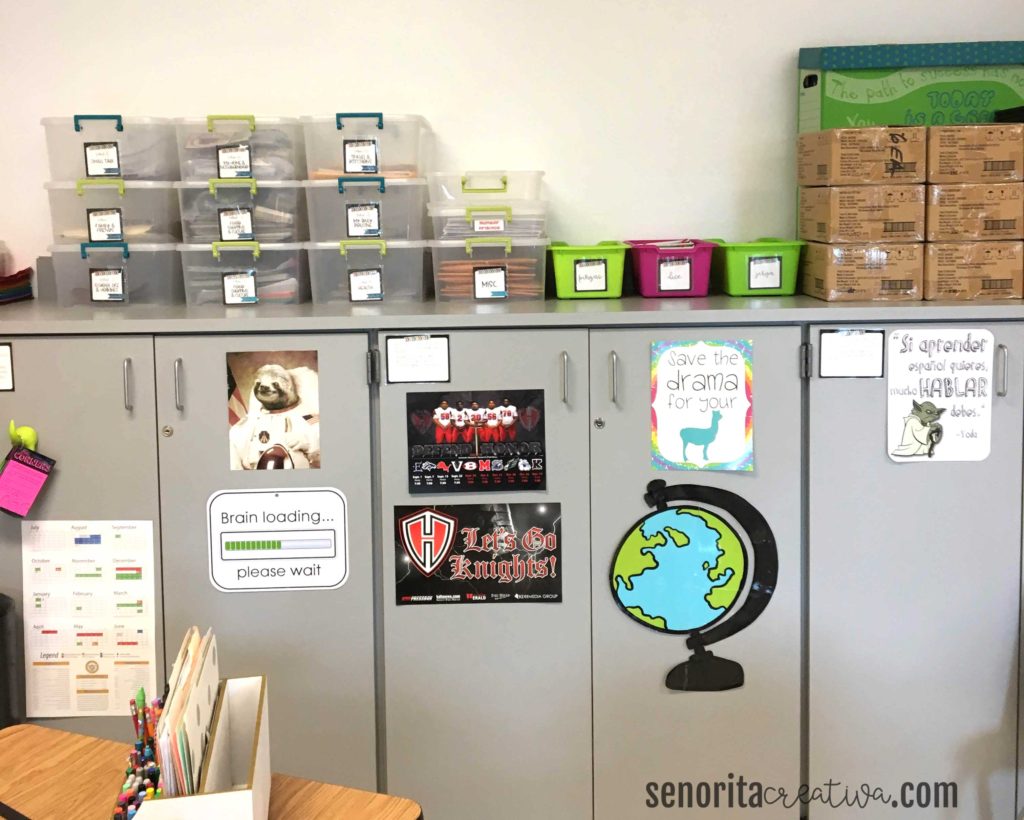
These awesome cabinets are to the left of my desk, and they provide me with so much storage that I never had before! Above the cabinets you can see the bins I use to organize materials for each unit (affiliate link), which I labeled using the clear square pockets from Target’s Dollar Spot. Beside those bins you can see three colored bins (also from the Dollar Spot) that hold clothespins (great for speaking activities – check out this blog post for more on how I use clothespins in my class), dice, and mini jenga sets from Dollar Tree. The green box in the top right corner holds bulletin board sets and posters.

To the right of my cabinets I keep a table with all of my student supplies and handouts. The white tower to the left (from Michael’s) holds copies for upcoming lessons, the pink bing (from Office Depot) holds copies that are ready to be filed (in folders labeled with the page number for the interactive notebook), and the two three-drawer bins (from Walmart) hold papers for absent students from the current/past week. The bulletin board has five framed pages (using these $2 frames from Walmart), one for each day of the week, with information about what we did in class each day (these pages are coming soon to the free teacher’s resource library). Above the bulletin board are some question word posters from creativelanguageclass.com. On the door is an exit ticket poster I made, and above the door are ways to say goodbye in Spanish.
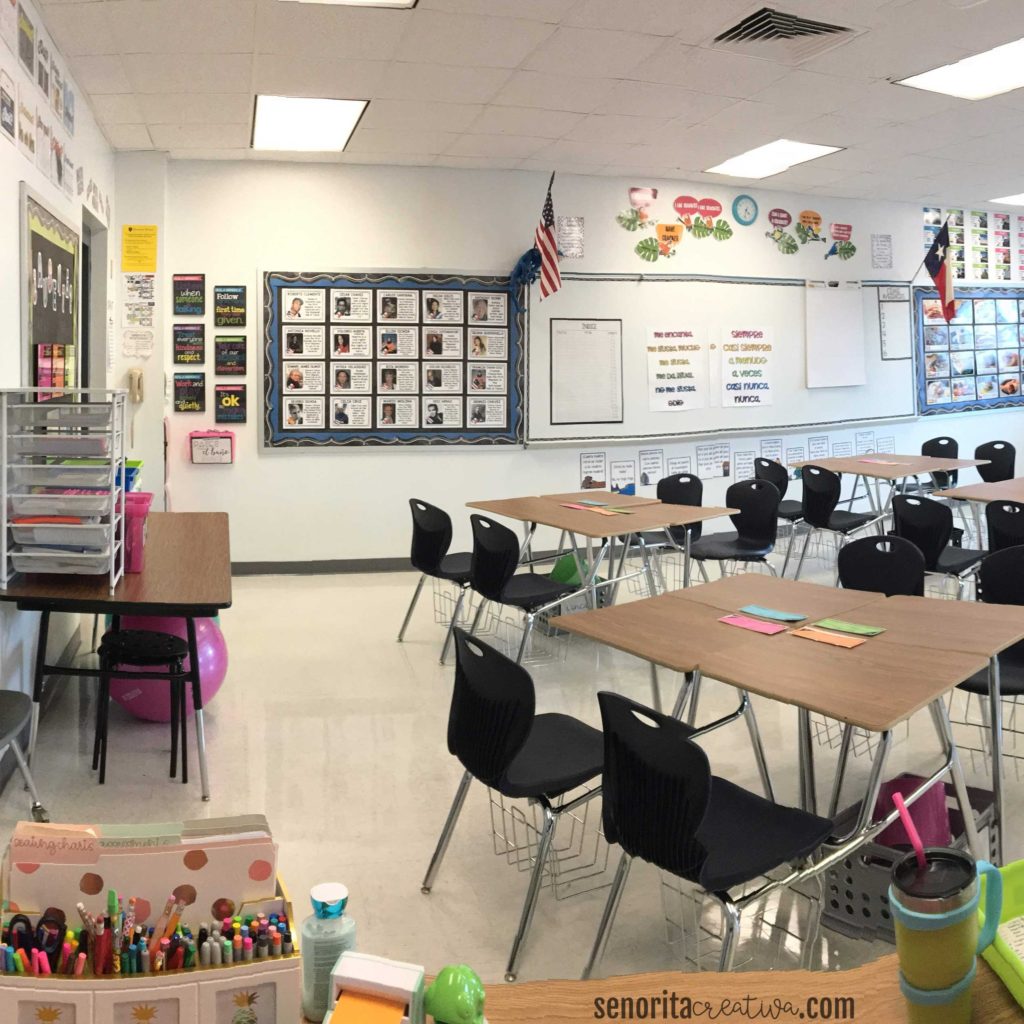
Here you can see the back wall of my classroom. The bulletin board to the left has a famous Hispanic American poster set from Sra Cruz on TpT, and above the whiteboard is the proficency parrots from Spanish Sundries on TpT.
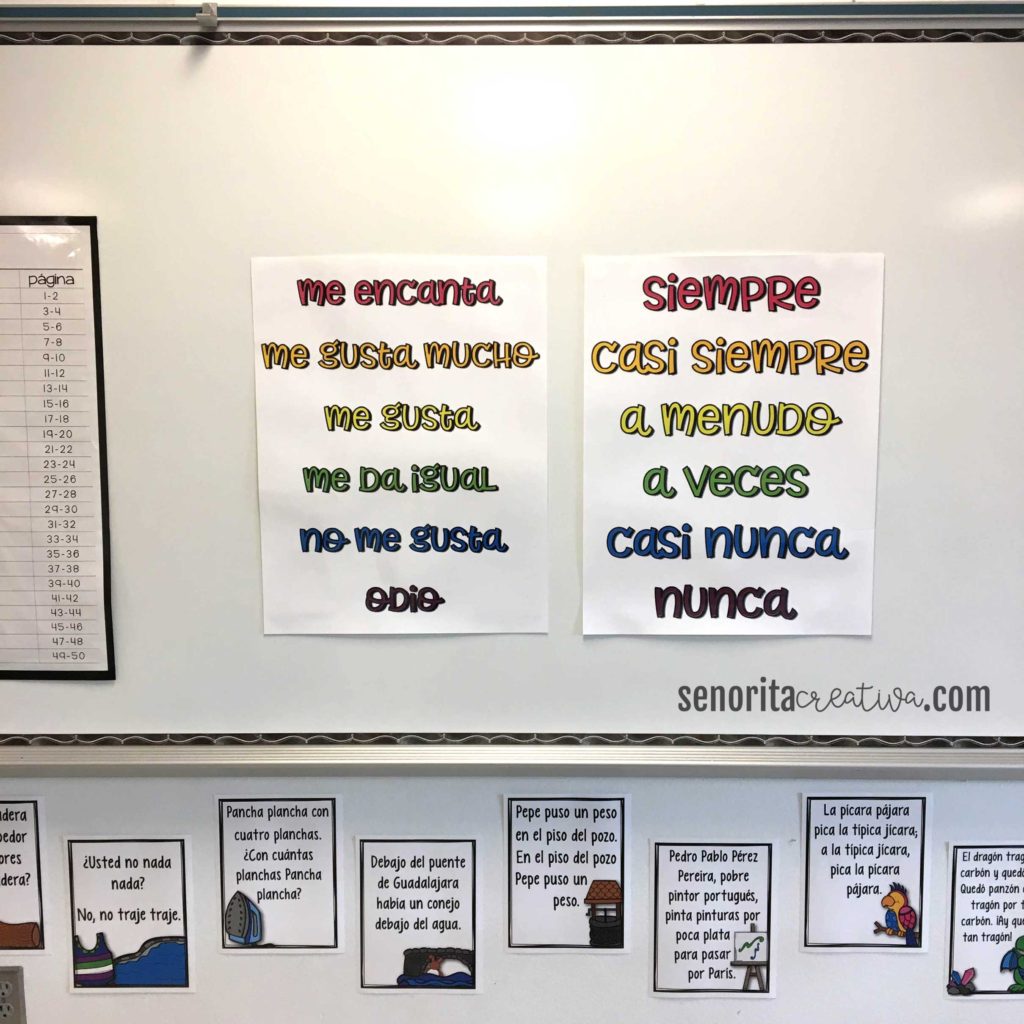
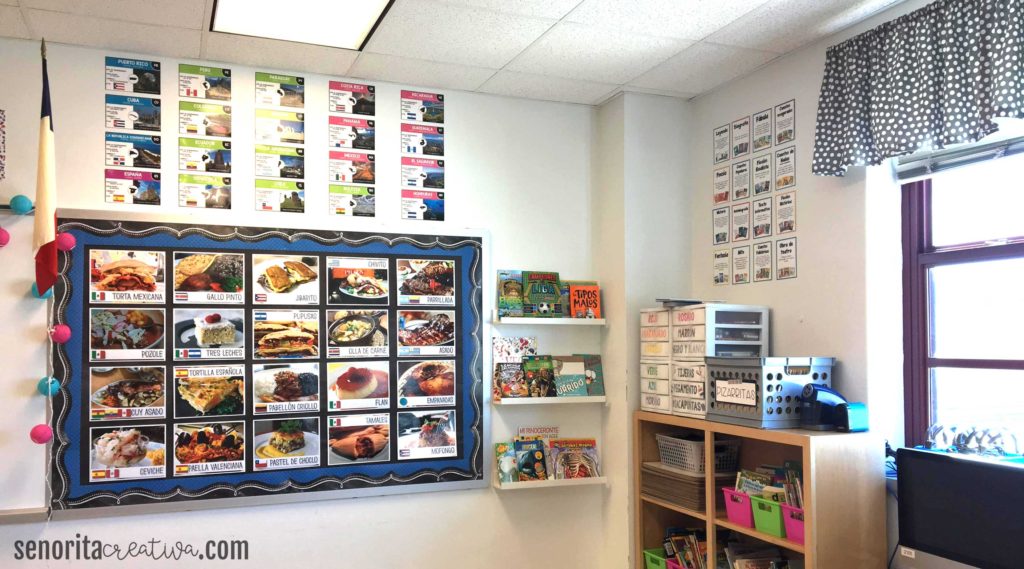
To the right of my whiteboard in the back of the room is another bulletin board, which I switch out every quarter. Currently, I have some posters about foods from the Spanish-Speaking world. This area also houses one of my favorite parts of my classroom: my library. I used three Mosslanda picture ledges from Ikea to display some of my favorite books, and the rest are on the bookshelf on the right wall. This bookshelf also houses my clipboards, whiteboards and markers, and coloring supplies. Above the bookshelf are some genre posters in Spanish from Primero Bilingüe on TpT.

This is my little reading nook, which I set up with two butterfly chairs that I got on clearance at Walmart, along with an inflatable ottoman from Five Below and some pillows from various stores. I also love my colors posters from my TpT store on the cabinet and they help brighten up the corner.
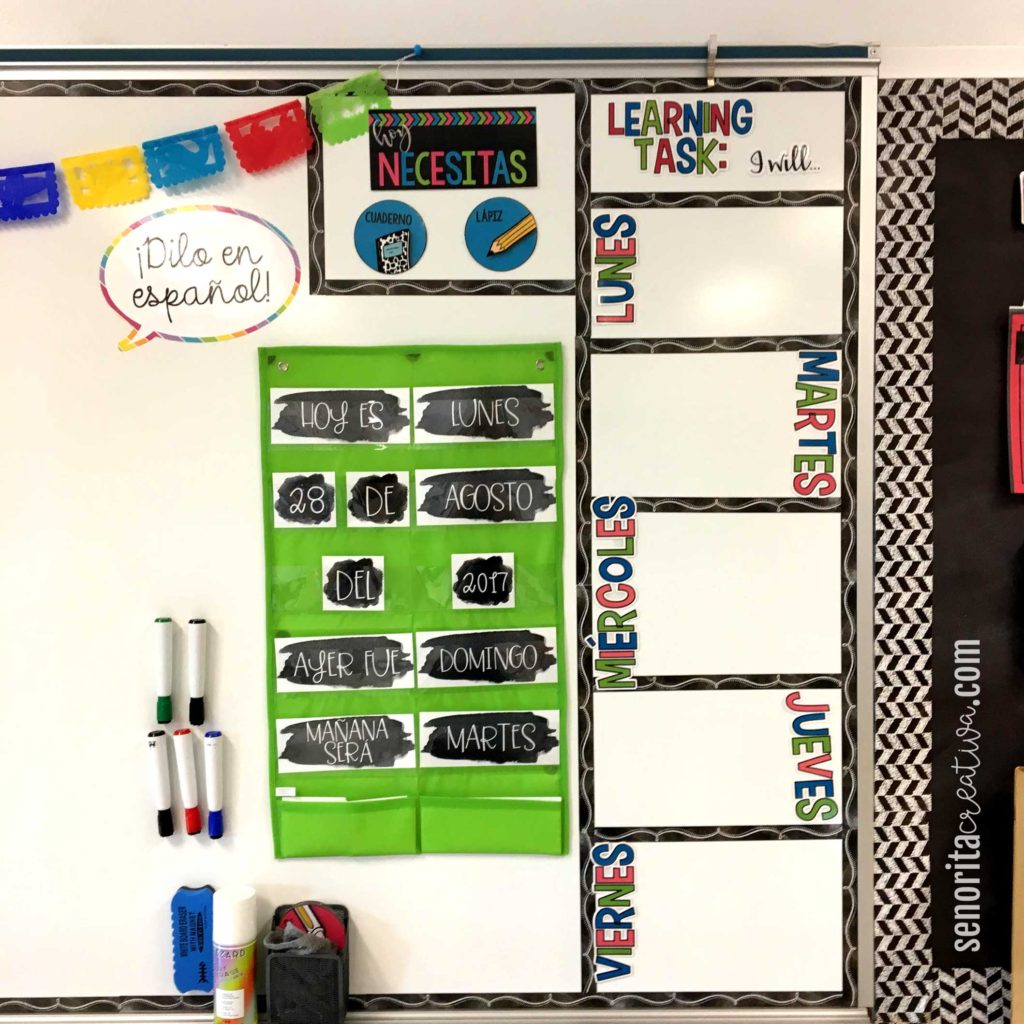
This is the informational corner of my whiteboard in the front of my room. The green pocket chart was from the Target Dollar Spot, and the adorable miniature papel picado banner was something I picked up at the Riverwalk in San Antonio this past summer. This area is also where I display what supplies students will need and what the daily learning task is for class.

This area is my home away from home – my desk nook. I try to keep my desk relatively neat, with a spot to turn in work (the green bin on the left corner) and a sport for writing utensils and important papers (white caddy on the right corner). Behind my desk I have a bookshelf with emergency lesson plans, my teacher toolbox, important binders (like lesson plans and learning target signs), and reference materials. Next to my bookshelf is my iMac that I use to project lessons and activities, and my printer is below that (affiliate link).
On the bulletin board, I keep the lesson target, a Kagan MegaTimer clock, my calendar (the pocket chart was from the Target Dollar Spot), a name sign I made for myself using a cute pencil sign from the Dollar Spot and some sparkly vinyl, and my lightbox from Michael’s.
Thank you for tuning in to my classroom tour and be sure to let me know what you think!


