Hey everyone! I’ve had a lot of questions lately about using Google products now that many schools are doing distance learning. Something I get asked a lot is how to assign Google Slides resources in Google Classroom, so I wanted to walk you through that process. For this tutorial I’m using one of my “Búsqueda de Tesoro” Scavenger Hunt activities which you can access here. Check back next time for my post on tweaking Google Sheets for posting in Google Classroom!
Step 1: Tweak the Google Slides resource so it’s ready for your students
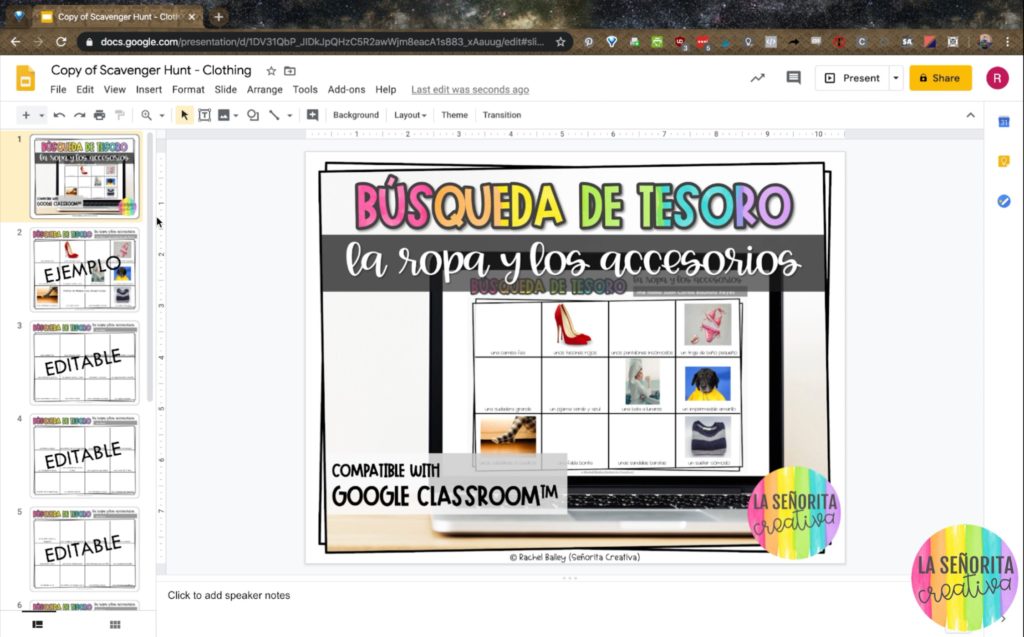
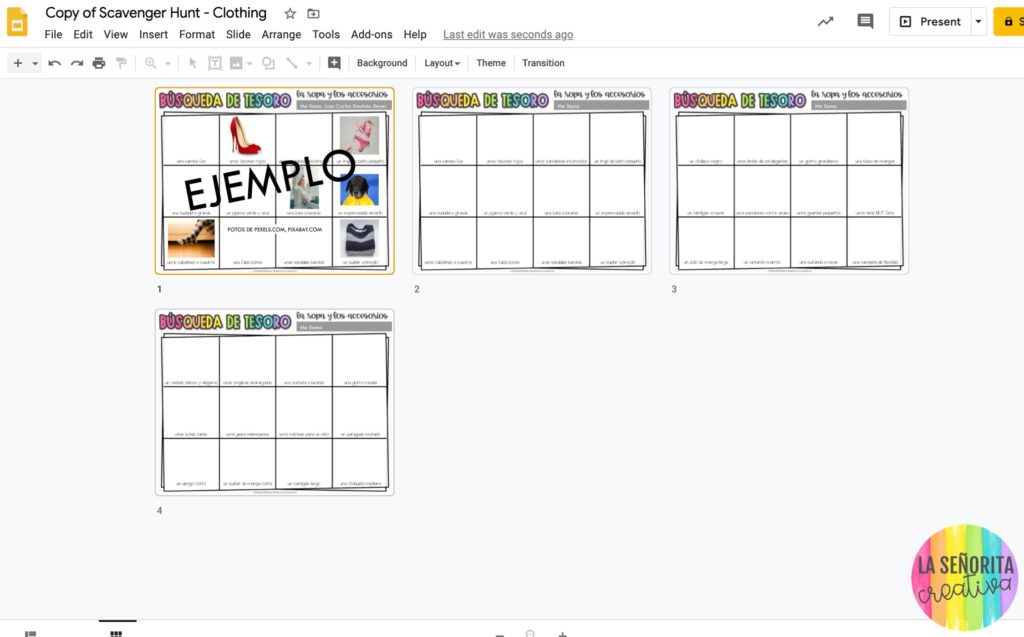
First, add the file to your Google Drive and make any changes to the file that you might need for your students. For the resource in this example, I usually leave the example slide in there so that my students have a better idea of what I’m looking for, but you can always delete that if you want.

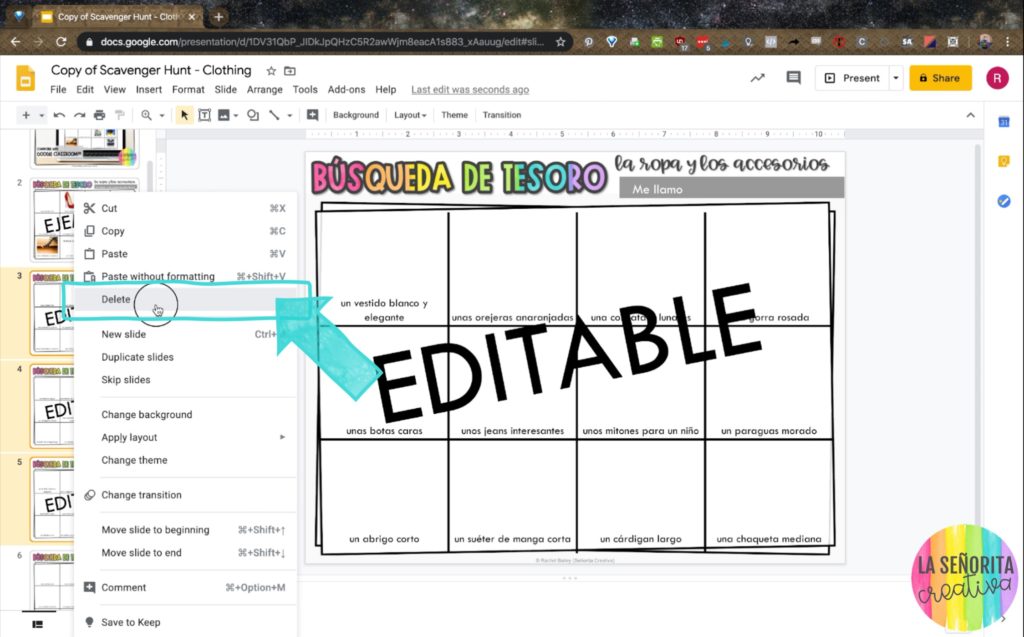
In this example, I deleted these three editable slides, because I’m going to keep everything the way it is and use the ones that are already finished.
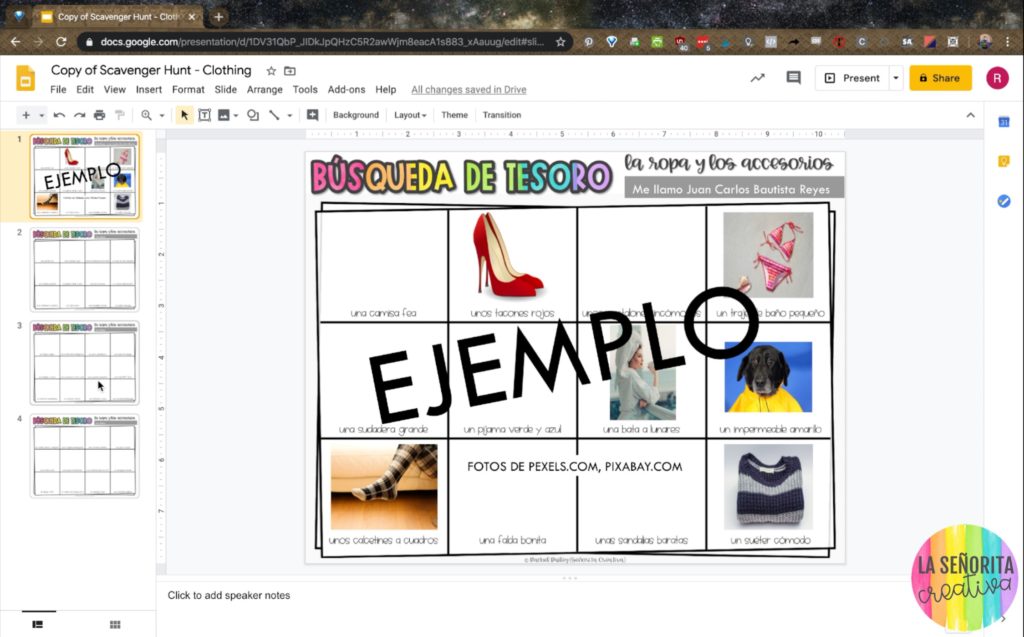
Now you’re left with only the slides you want to assign your students, easy peasy!
Another way you can tweak the presentation is by starting with the original presentation. In “grid view” (at the bottom left hand corner) select only the slides you want to keep.
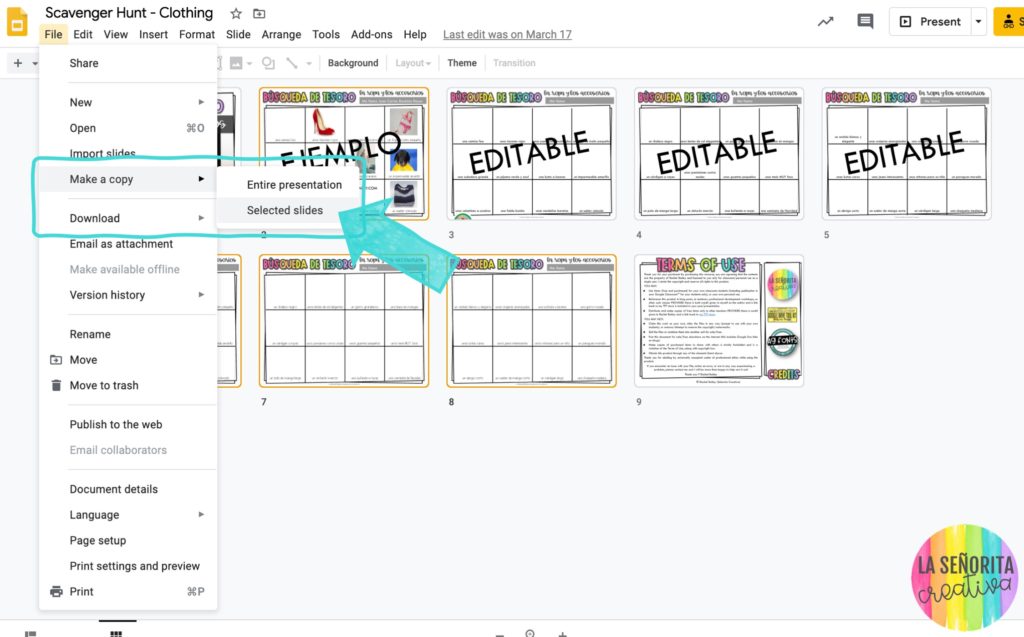
Then go up to “File” and select “Make a Copy”. In the menu that comes up, click on “selected slides”. Now you have a new presentation with only the slides you chose, and your original file is intact.
Step 2: Create your assignment in Google Classroom
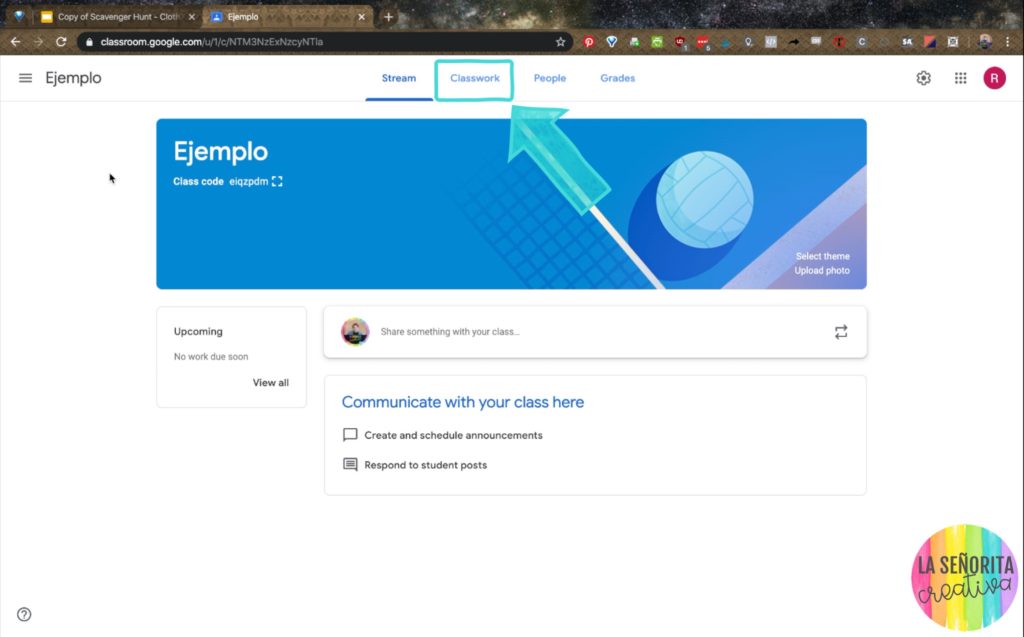
Now, go to classroom.google.com in your internet browser (Chrome is my browser of choice and the one that works the most smoothly with Google Classroom). Make sure you’re signed in with the correct google account, click continue, and it will take you to your classroom. In this tutorial, I’m using an example classroom, so you’ll notice it says zero students. Open your classroom, and click “classwork” at the top of the screen.
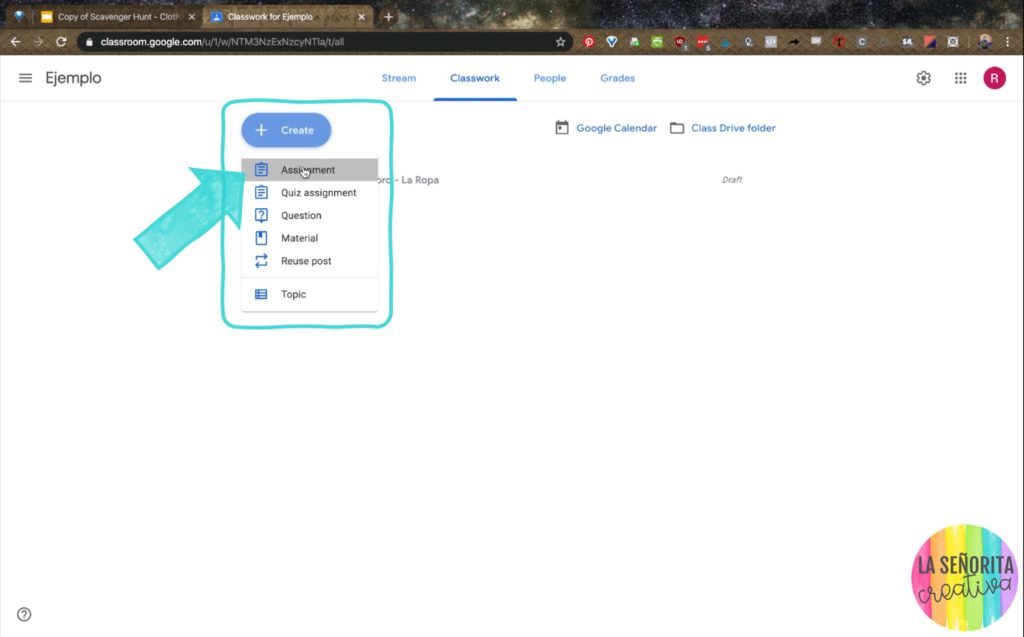
Click “create” and what we’re doing today is creating an assignment, so select that option. Give your assignment a title, and then add any instructions your students might need to complete the activity.
Step 3: Select the resource and change the settings
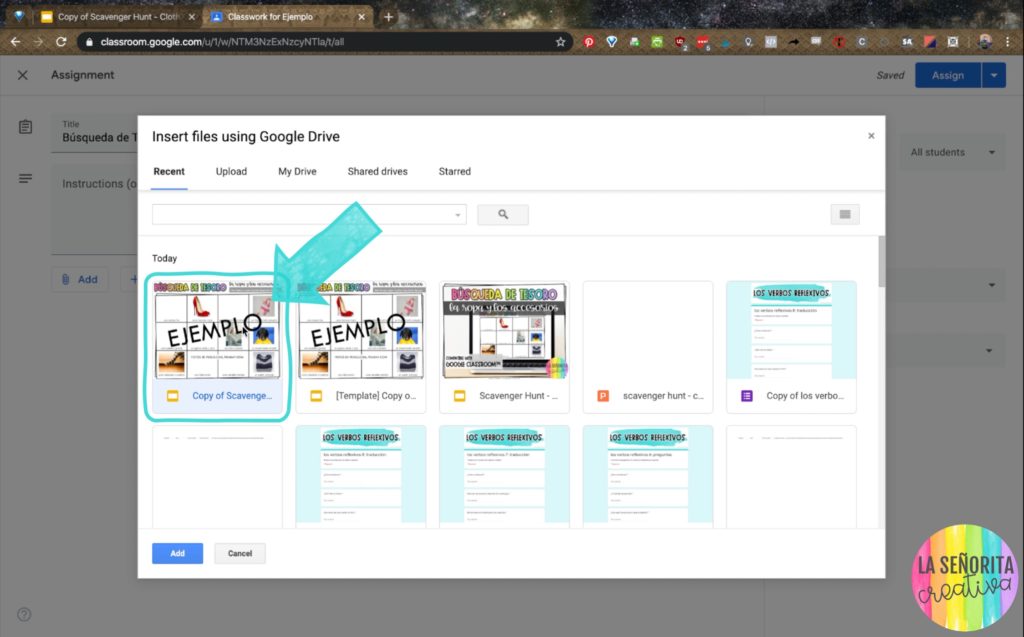
Next, click “add” and then “google drive” because that’s where the file is located. Navigate to the version of the Google Slides activity that you want to use, select it, and click add.
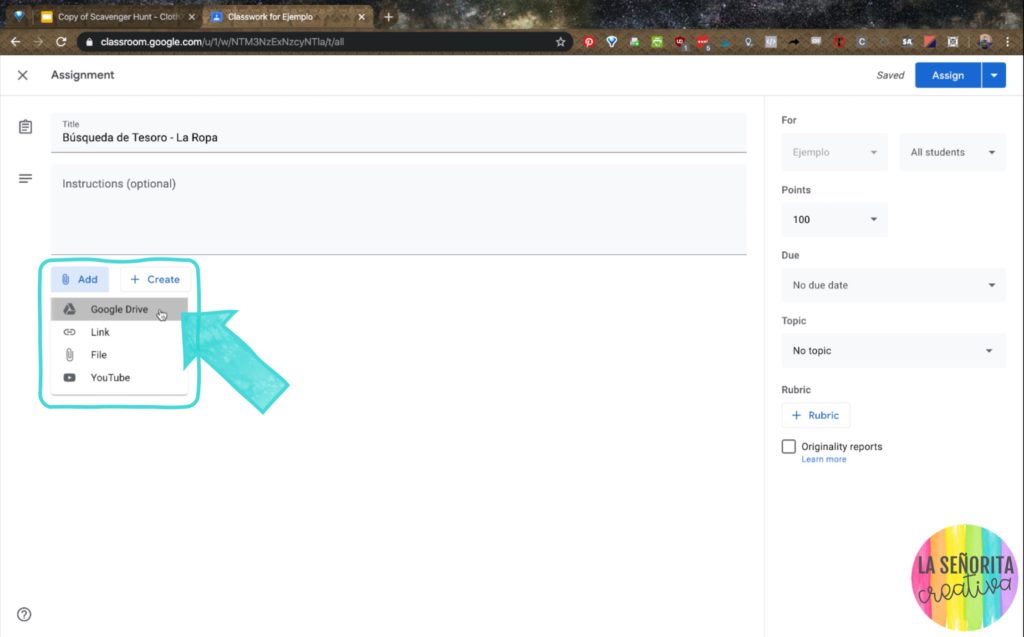
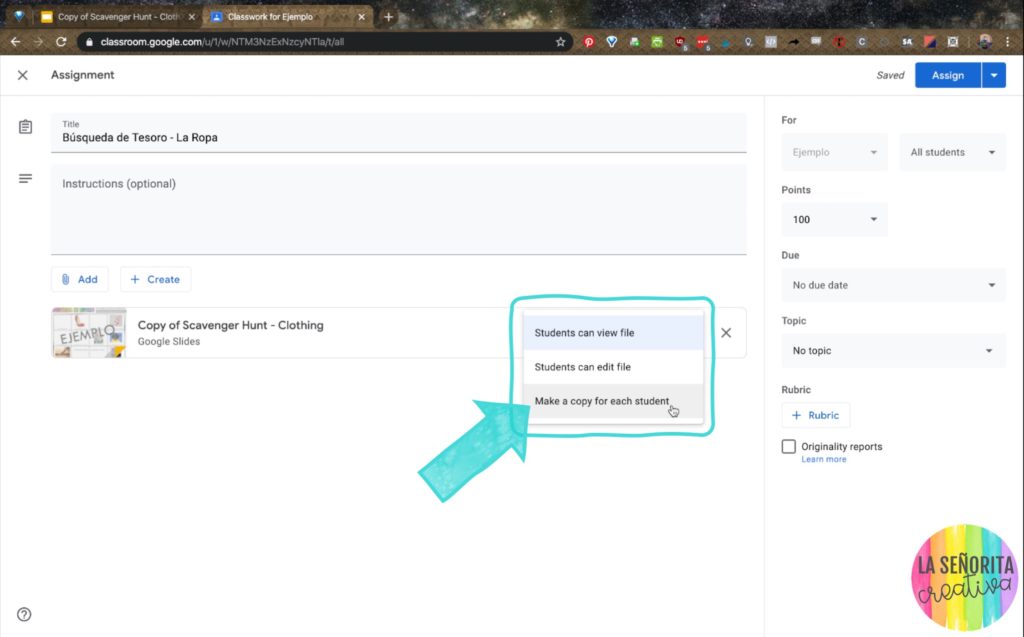
Now this next part is very very important. Because you want students to edit this file, there’s a setting you have to change before assigning. To the right of the file, click where it says “students can view file” and change that to “make a copy for each student”. This way, it will automatically create a unique copy for each student and you don’t need to worry about them editing your original file.
Make sure you set the point value, due date, etc on the side and then click on assign. You can add a topic if you want here. It’s kind of like a category, so you might choose vocabulary practice or unit 6 clothing, whatever would make sense for your course and students.
And that’s it! How easy was that?? Please let me know if you have any questions, and leave a comment below with a way you’ve used Google Classroom lately!
Would you rather see this tutorial in a video? Check out my video tutorial here.